




Input Switching
Max Display Output

Recommended Setup

Display Stability
Control Options

Automatic input scanning

Content Protection
16×1 HDMI Switch | 4K60, EDID, RS232 & LAN Control
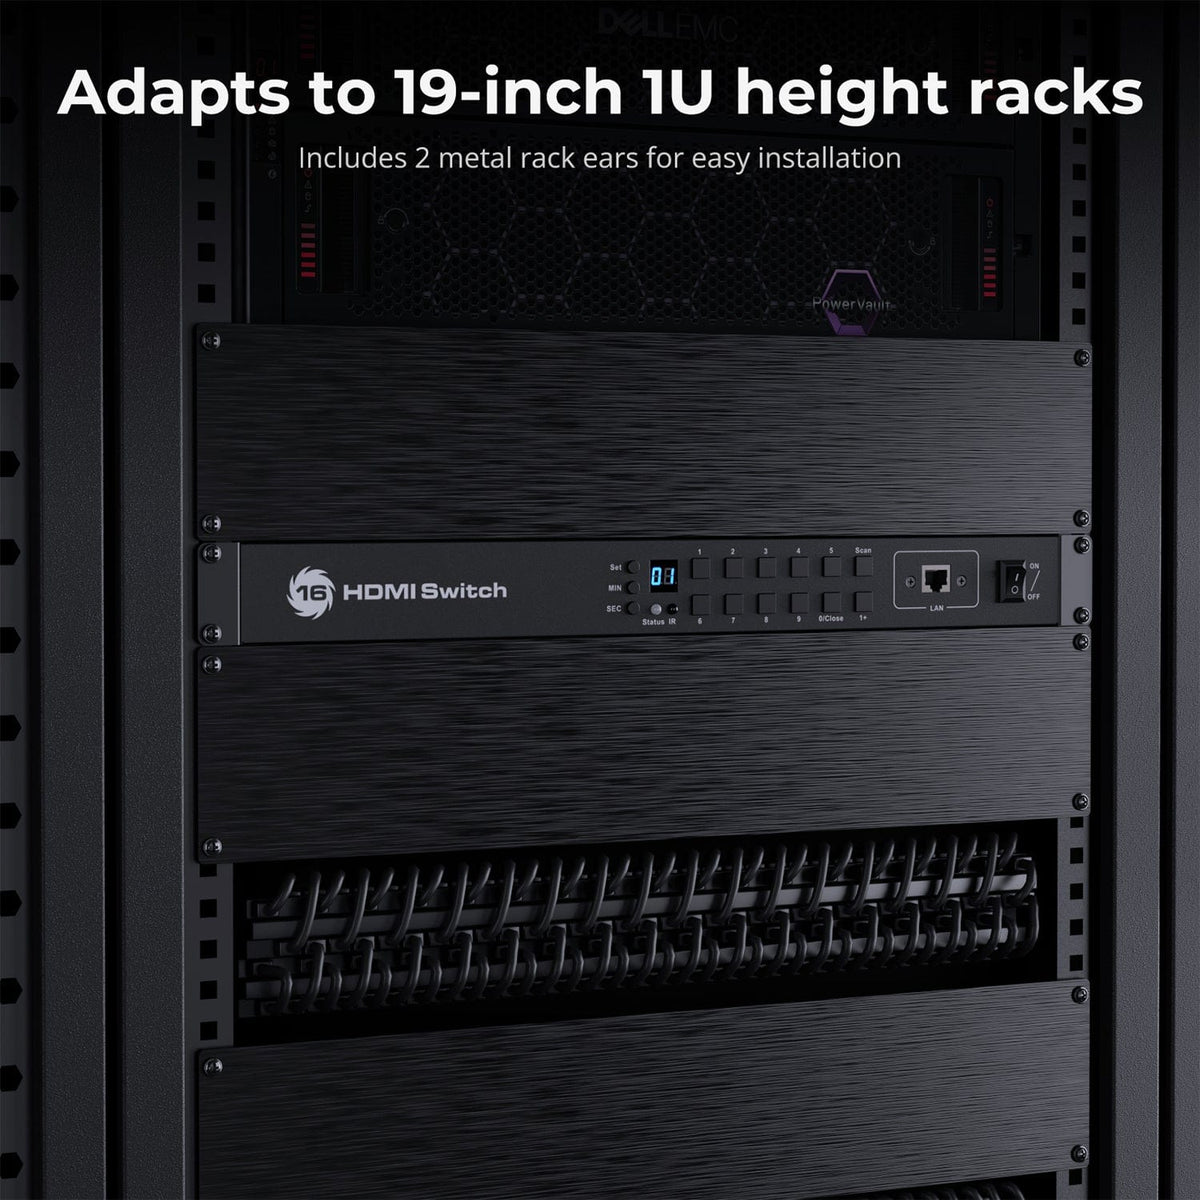
Switch 16 HDMI sources to one display, with up to 4K60, EDID, Auto Scan and front-panel, IR, RS232 or LAN control.
Input Switching
Max Display Output
Recommended Setup
Display Stability
Control Options
Automatic input scanning
Content Protection
16×1 HDMI Switch | 4K60, EDID, RS232 & LAN Control
Why Choose HSW1601-E23
Overview
01
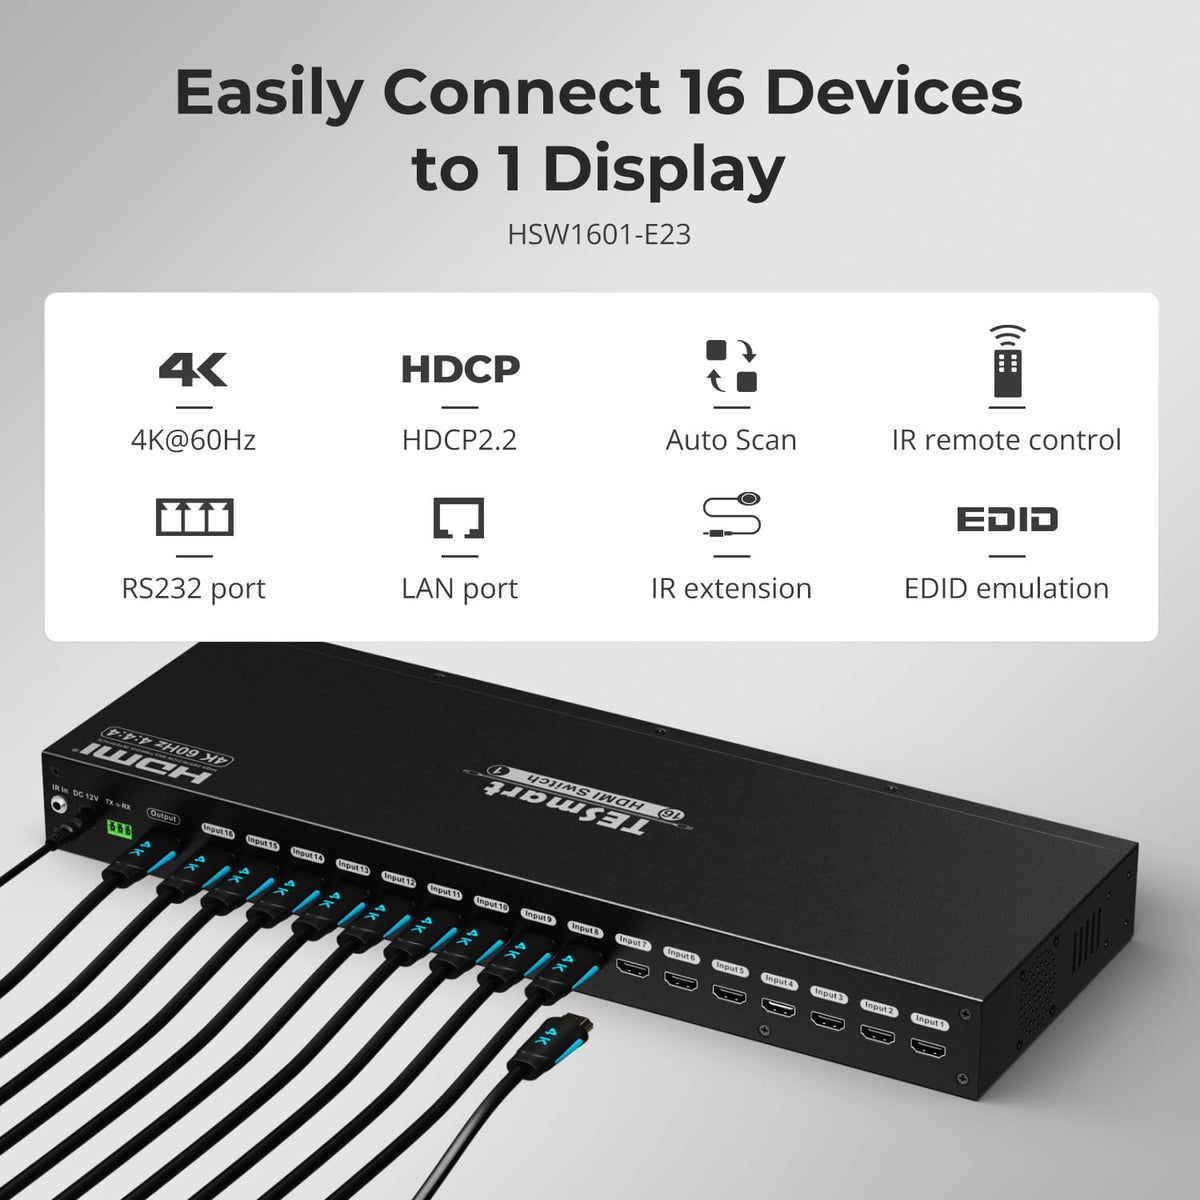
Connect 16 HDMI Sources to One Display
Bring computers, game consoles, streaming devices and other HDMI sources into one organized 16-input system. Select the source you need without repeatedly moving cables at the display.
02
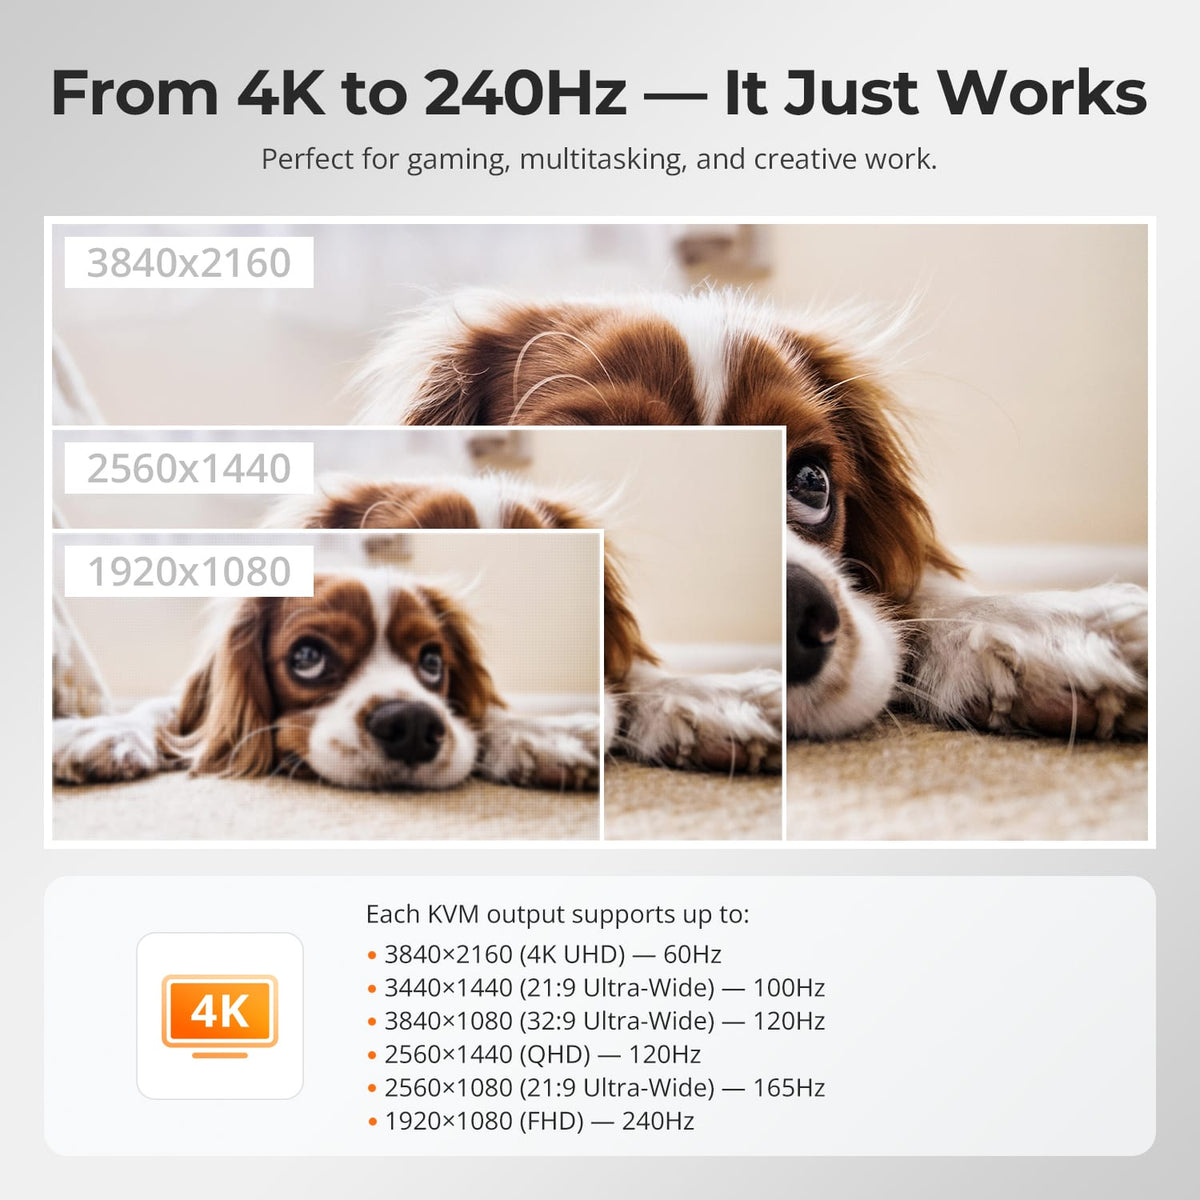
4K@60Hz 4:4:4 Video
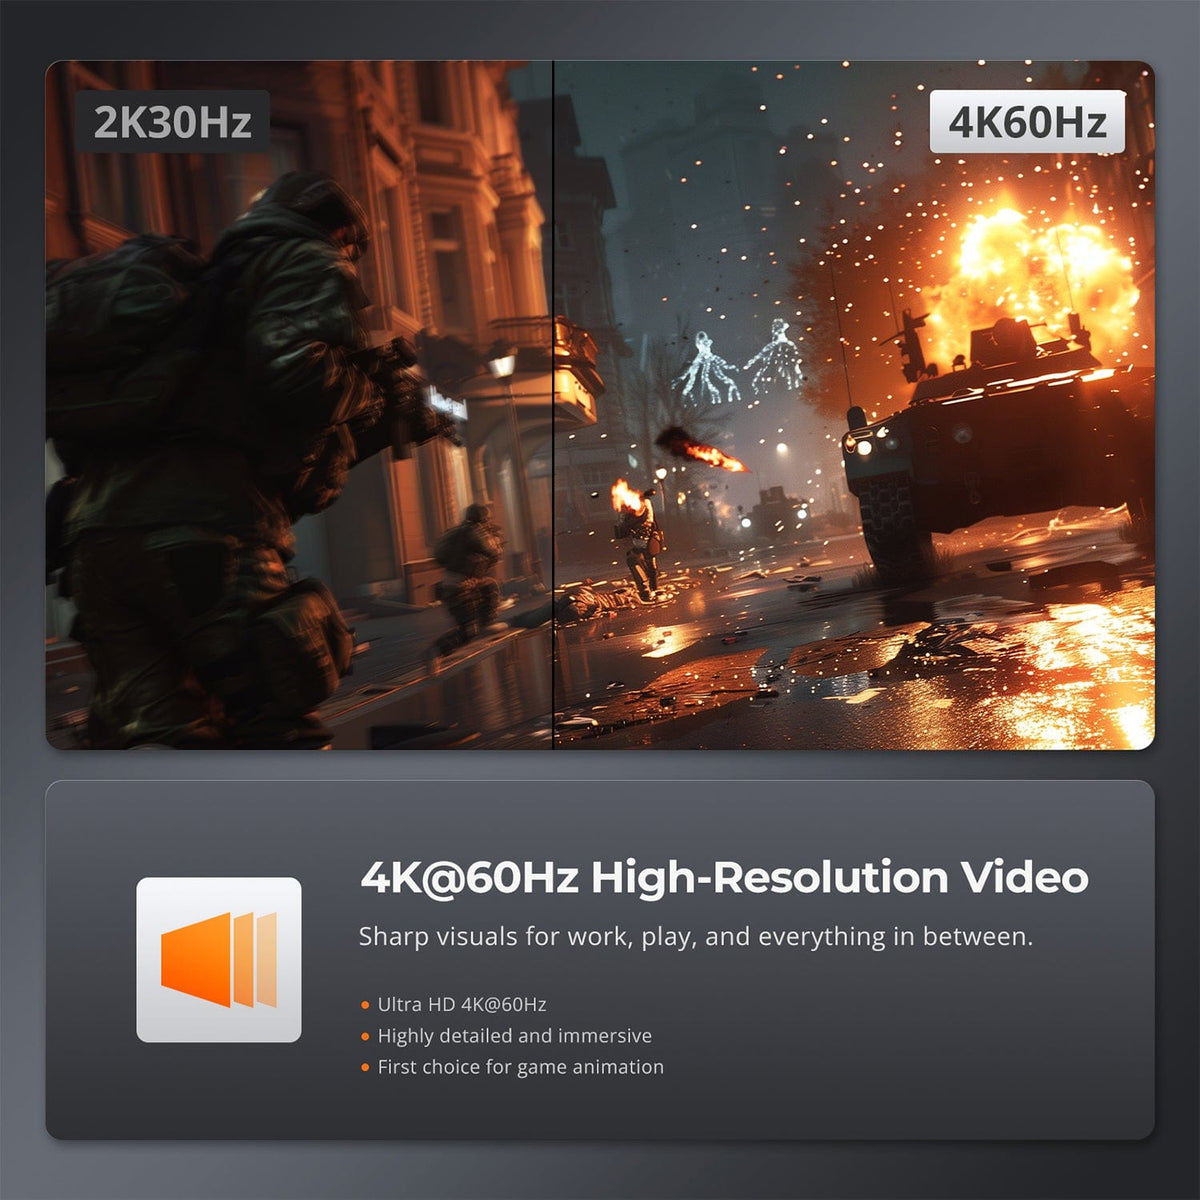
Output up to 3840×2160 at 60Hz with 4:4:4 chroma and HDCP 2.2 compliance for detailed text, video and interface content from compatible HDMI sources and displays.
03
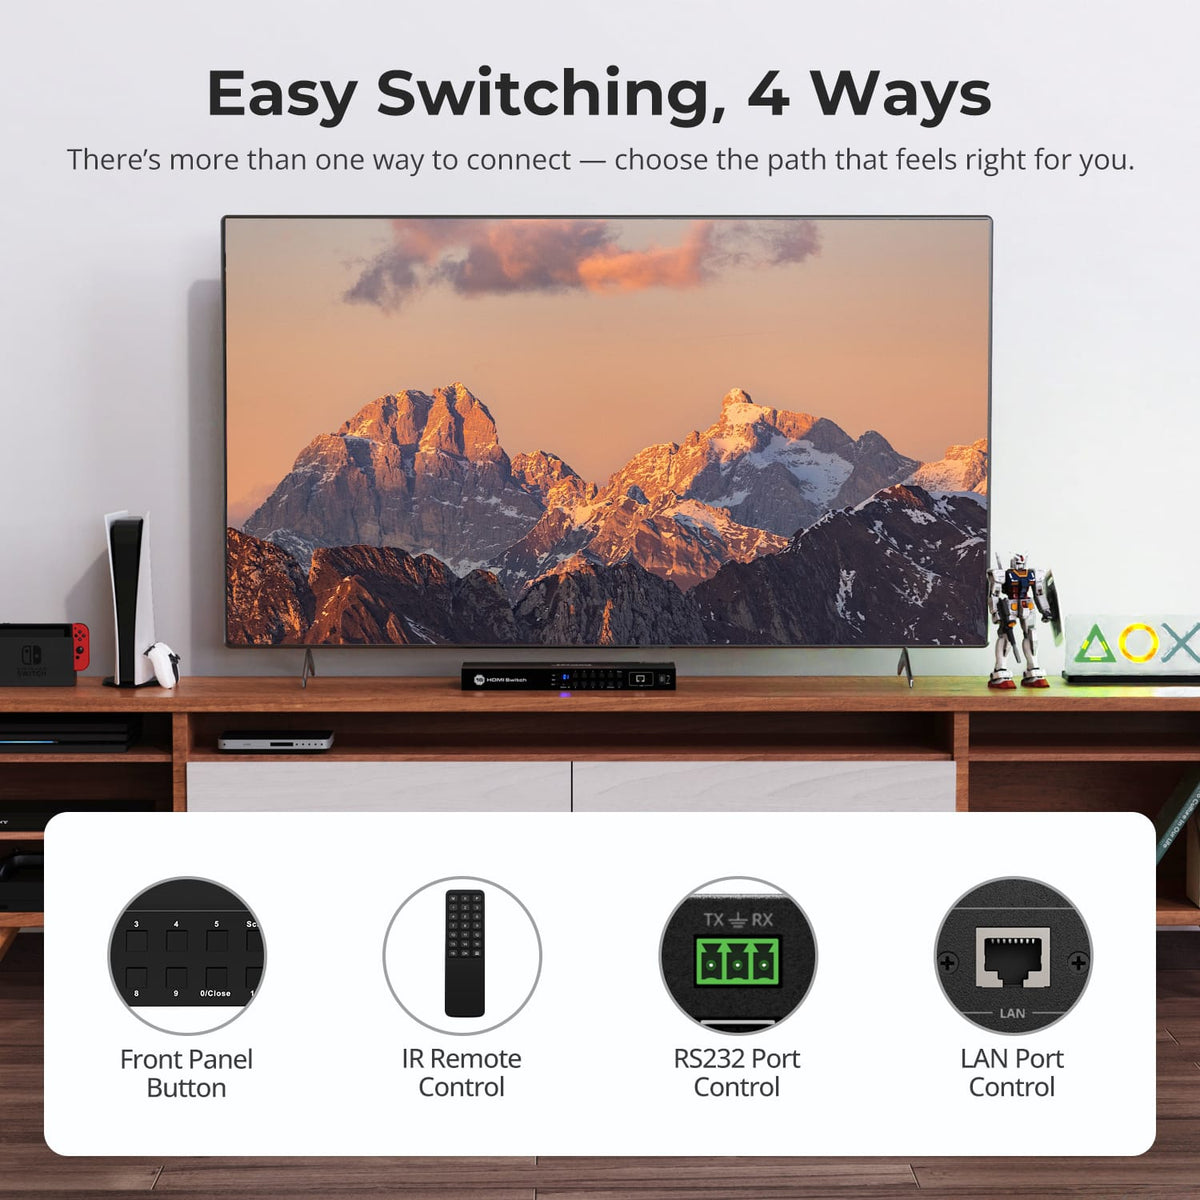
Control the Switch Locally or Remotely
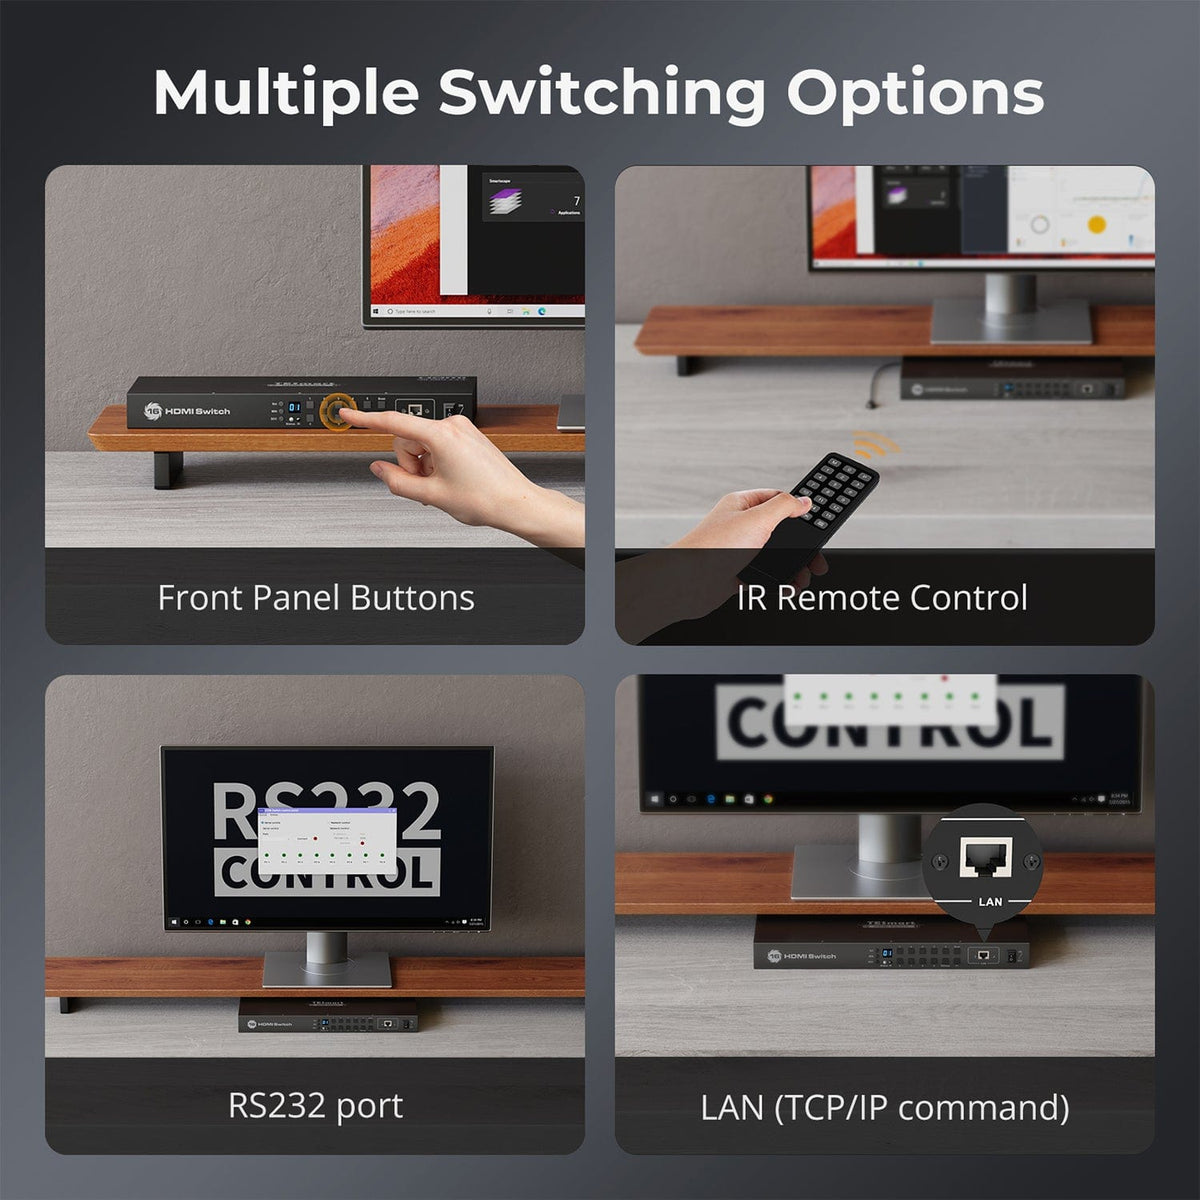
Choose inputs from the front panel or IR remote, or integrate the switch into managed AV and equipment-room workflows with RS232 serial commands and LAN-based TCP/IP commands.
04
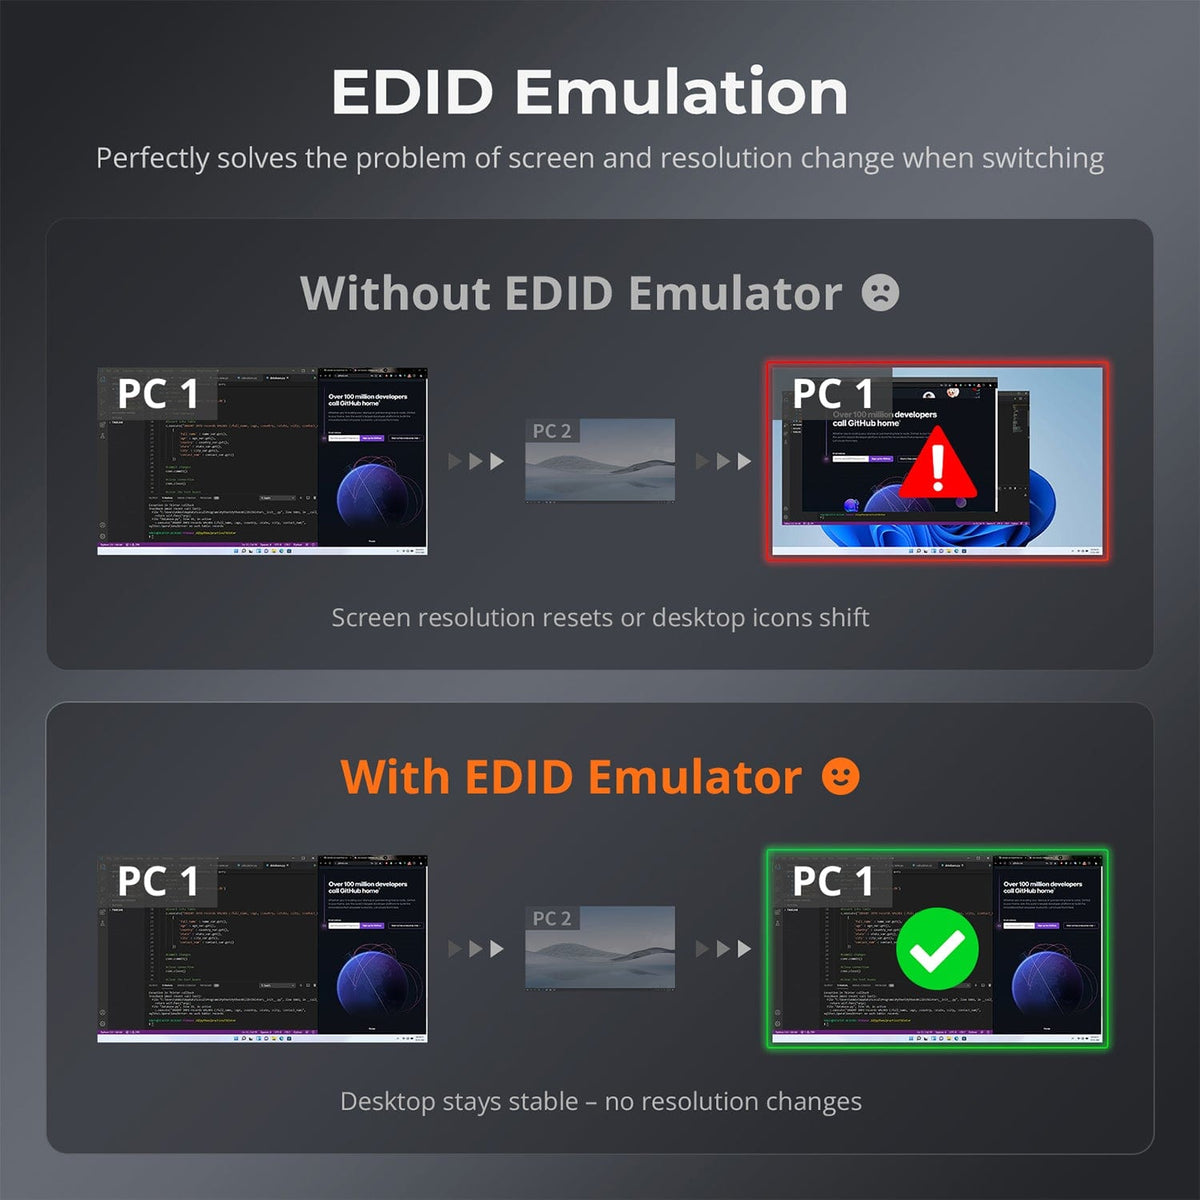
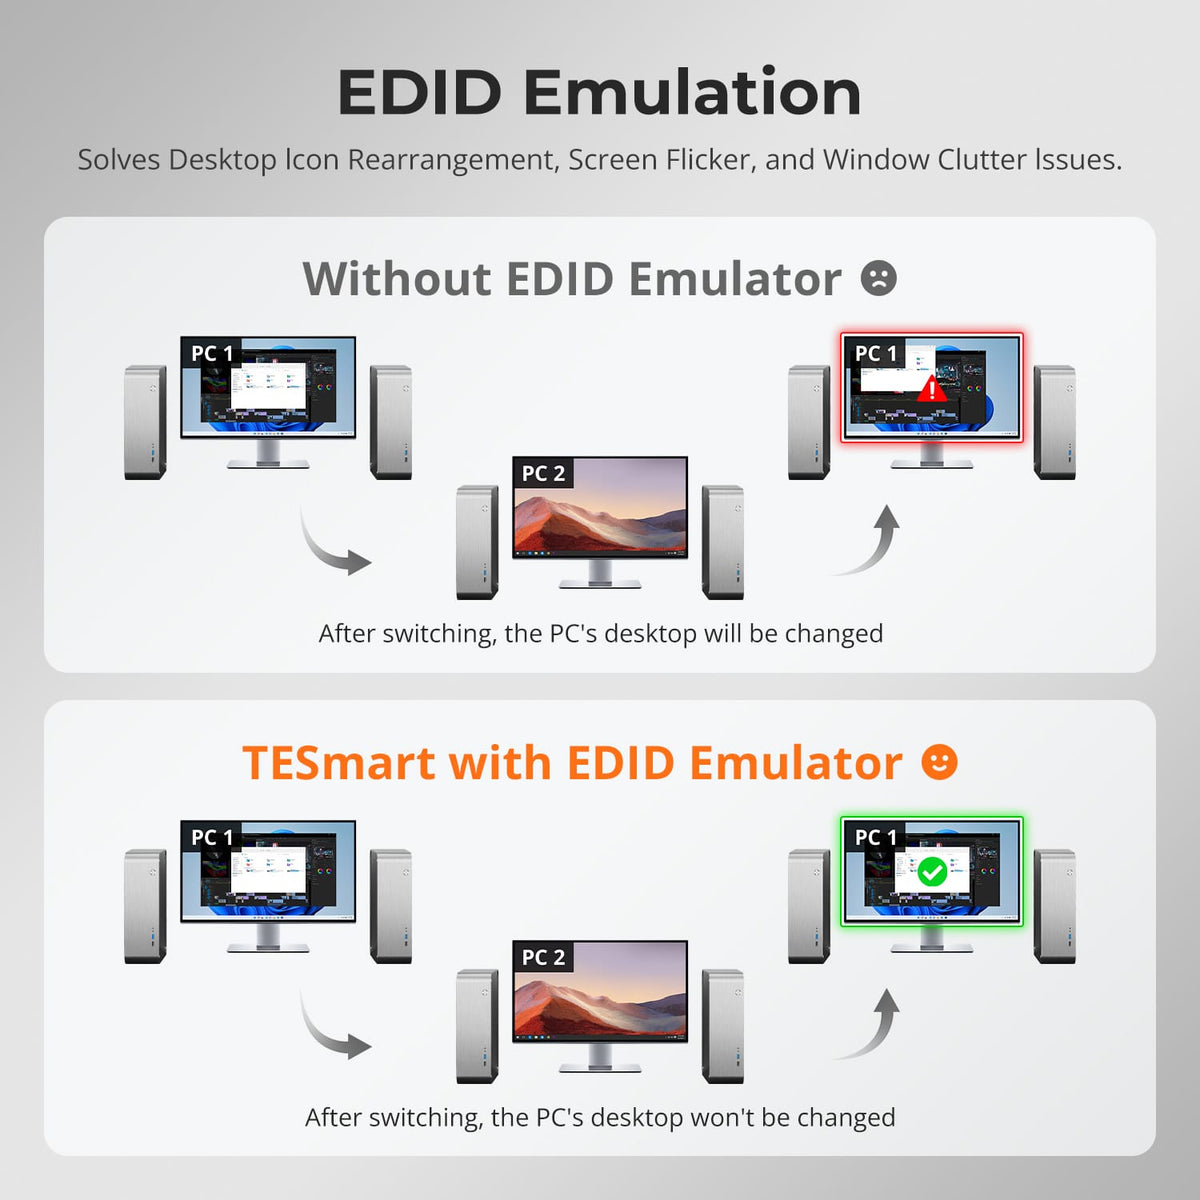
Keep Source Connections Stable with EDID Emulation
EDID emulators on every input keep display information available to connected sources while another input is selected. This helps maintain stable resolution and desktop behavior during switching.
05
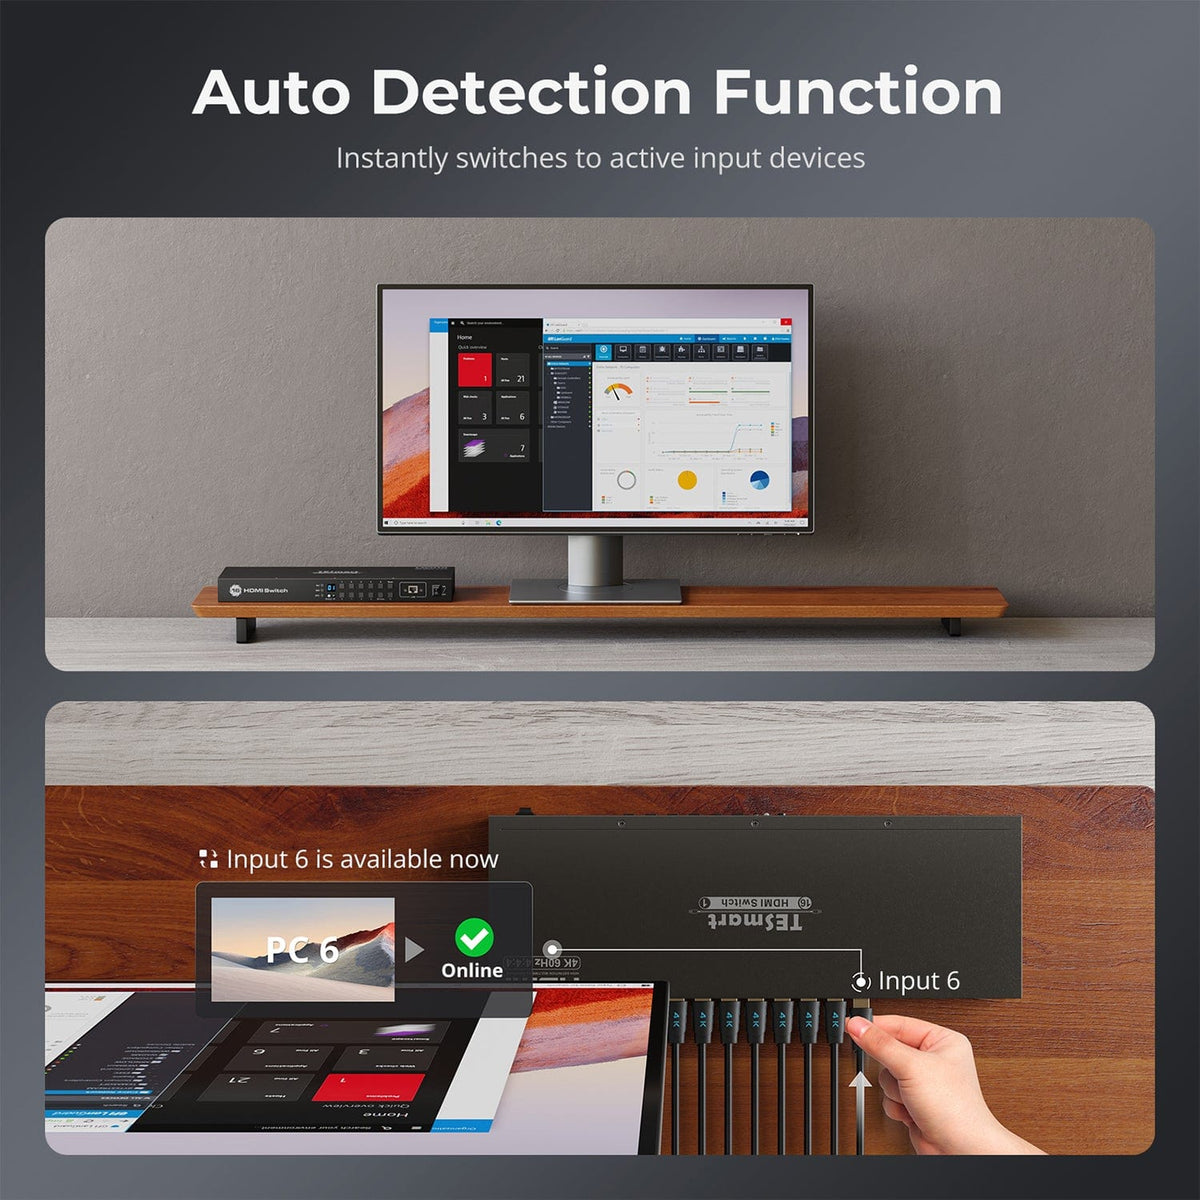
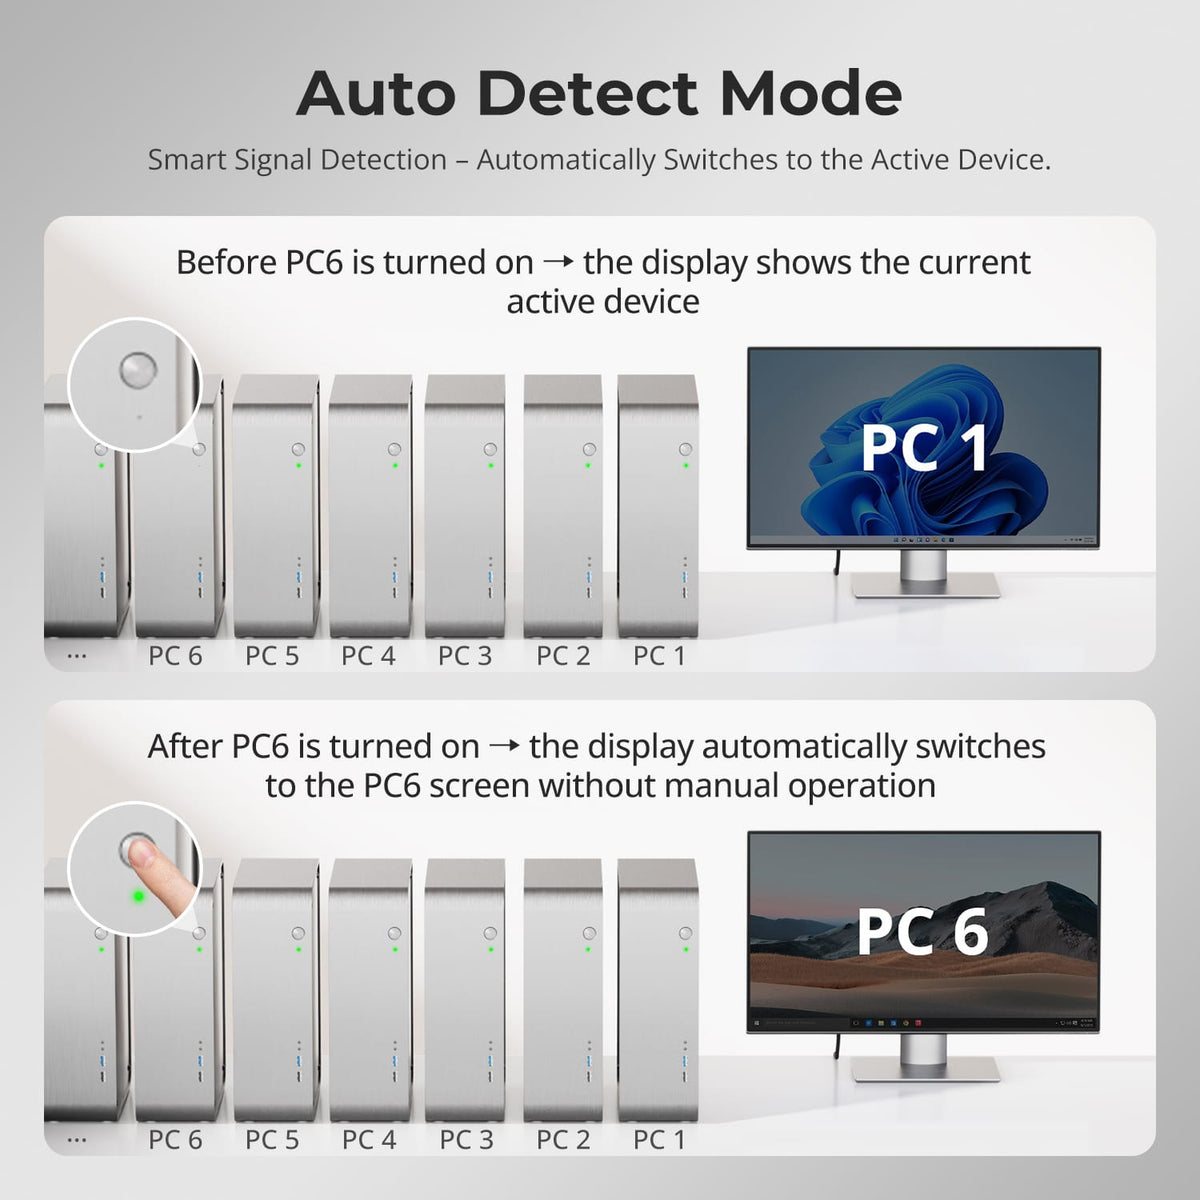
Switch Automatically When Sources Change
Auto Detection can select a newly connected active source, move to the first valid source when the current device is removed, and leave an inactive input for the next available signal. The mode is enabled by default and can be toggled with the remote.
Specifications & Support
Compatibility & Input Guide
Technical Specifications
Manuals & Downloads
Included in the Box
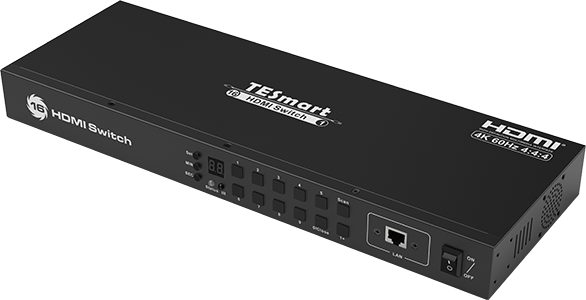
1 × HSW1601-E23 16×1 HDMI Switch
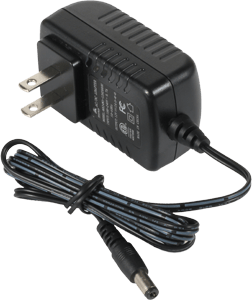
1 × 12 V DC Power Adapter
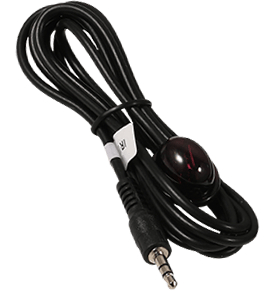
1 × IR Receiver Cable
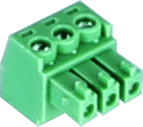
1 × 3-Pin RS232 Connector
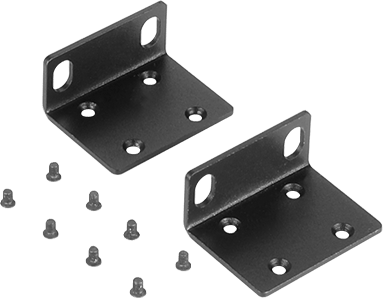
1 × User Manual

1 × User Manual

FAQ's
Visit our Help Center for more answers.
[Compatibility] What devices can I connect to HSW1601A1U?
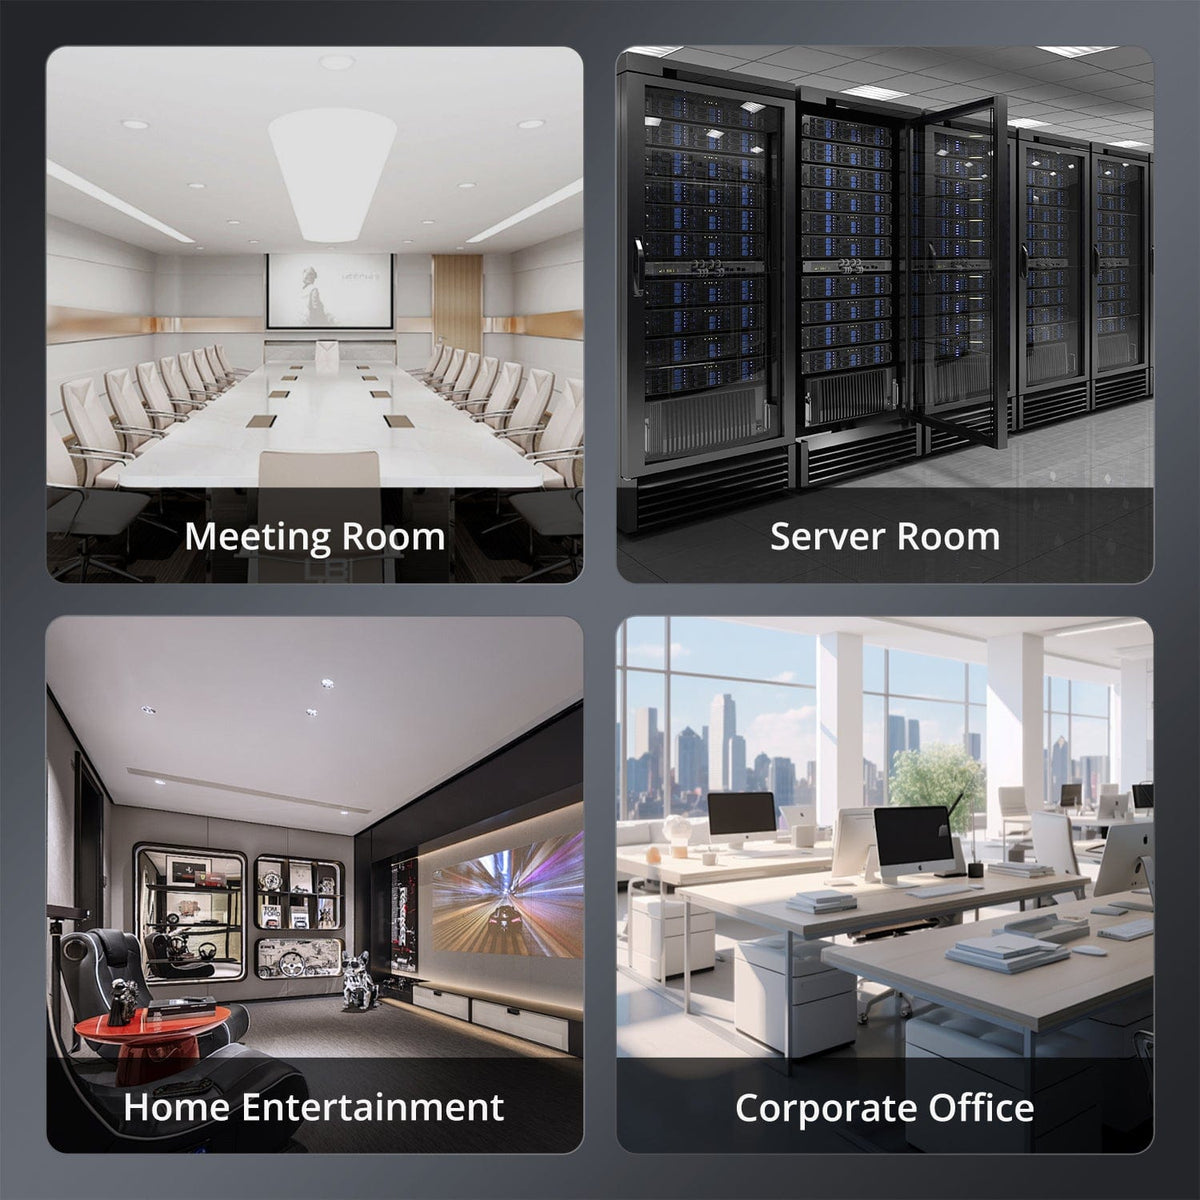
You can connect up to 16 HDMI source devices, including computers, game consoles, streaming players and other equipment with HDMI output, and route one selected source to a single HDMI monitor, TV, projector or AV receiver.
[Compatibility] Which operating systems are supported?
HSW1601A1U switches HDMI audio and video independently of the operating system. It can be used with HDMI-equipped devices running Windows, macOS, Unix, Debian, Ubuntu, Fedora, Raspbian and other Linux-based systems.
[Compatibility] What resolution and HDCP version does it support?
It supports up to 3840×2160 at 60Hz with 4:4:4 chroma and is HDCP 2.2 compliant. The source, display, cable and any adapter in the signal path must all support the selected format.
[Compatibility] Can I use DVI sources or displays?
Yes. DVI-D single-link sources and displays can be used with suitable HDMI-to-DVI adapters. DVI does not carry audio, and the final resolution depends on the connected devices and adapters.
[Features & Connections] Does each input have EDID emulation?
Yes. Every HDMI input includes an EDID emulator, which keeps display information available to connected sources while another input is selected. This helps maintain stable resolution and desktop behavior during switching.
[Features & Connections] What is Auto Scan mode?
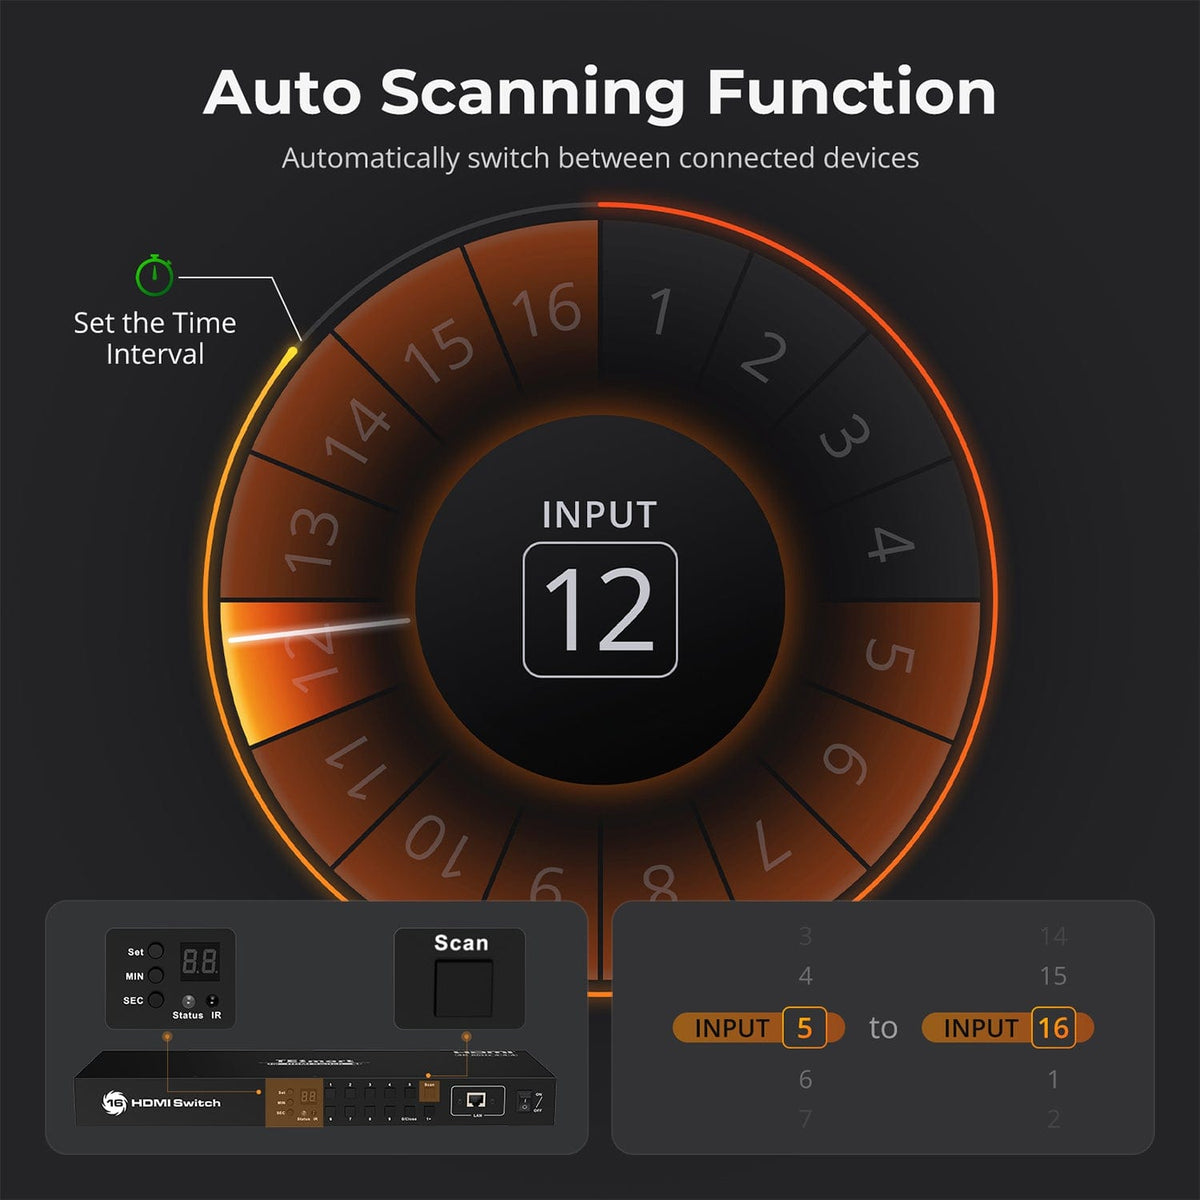
Auto Scan automatically cycles through connected, powered-on HDMI sources at regular intervals so multiple inputs can be monitored without selecting each one manually. The mode is off by default.
[Features & Connections] What is Auto Detection mode?
Auto Detection automatically selects a newly connected active source. If the current source is removed or the selected port has no signal, the switch moves to an available active input. Auto Detection is on by default and can be turned on or off with the M button on the IR remote.
[Features & Connections] Can I connect or disconnect sources while the switch is powered on?
Yes. HSW1601A1U supports hot plugging, so HDMI source devices can be connected or disconnected without powering off the switch.
[Features & Connections] What does low-consumption mode do?
Low-consumption mode turns off the HDMI output while the switch and connected input sources remain linked. Press 0/Close on the 16-port model to turn the output off or restore it.
[Setup & Switching] How do I connect HSW1601A1U?
Connect up to 16 source devices to the HDMI input ports, connect the HDMI output to one display, and then connect the included DC 12V power adapter. Turn on the switch and select the required input.
[Setup & Switching] How can I switch inputs?
Select inputs directly with the front-panel buttons or IR remote. For managed installations, you can also send RS232 serial commands or LAN-based IP commands from a compatible control system.
[Setup & Switching] How do I set the Auto Scan interval?
First enable Auto Scan with the front-panel Scan button or the P button on the IR remote. Press MIN to select the minutes and SEC to select the seconds, then press Set to save the interval. The default interval is 15 seconds.
[Setup & Switching] How do I connect RS232 or LAN control?
For RS232, use the included 3-pin connector with a compatible serial-control connection; the documented serial configuration is 9600 bps, 8 data bits and 1 stop bit. For LAN control, connect the LAN port to a local router or directly to a computer with a Cat5e/6 UTP cable, then use the supported IP command protocol.