

Table of Contents
- Introduction
- Quick Answer: What Is the Best KVM Setup for Mac Users?
- Why Mac Users Still Need a KVM Compatible with Thunderbolt 4 Workflows in 2026
- KVM Compatible with Thunderbolt 4 Workflows vs USB-C KVM vs Dock
- Mac Setup Selection Table
- Single Monitor Mac Setup: When a KVM Makes Sense
- Check Your Mac’s External Display Limit Before Buying a KVM
- Dual Monitor Mac Setup: Why Display Workflows Get More Complicated
- Using One Desk for MacBook, Mac mini, Mac Studio, and Windows PC
- Why Apple Studio Display Changes the KVM Decision
- How TESmart THK401-X4 Helps Build a Cleaner Mac Workspace
- Who Should Choose a Thunderbolt-Compatible KVM?
- FAQ
- Final Thoughts
Introduction
Many Mac users no longer work from a simple one-computer desk. A common setup may include a MacBook Pro for mobile work, a Mac mini or Mac Studio as a desktop system, a Windows PC for testing or gaming, and one shared monitor with a keyboard, mouse, webcam, audio device, or USB storage.
The first instinct is often to buy a dock. That works when the goal is to expand one Mac. It does not solve the harder problem: sharing the same display and peripherals across multiple computers without repeatedly unplugging cables.
This is where a KVM compatible with Thunderbolt 4 workflows becomes relevant. The value is not only bandwidth. The real value is hardware-level switching between computers while keeping the desk usable for Mac, Windows, USB peripherals, and display workflows that depend on USB-C or Thunderbolt-enabled connections.
This guide explains how to judge whether you need a KVM for Mac, how it differs from a dock or USB-C KVM, and where TESmart THK401-X4 fits into single-monitor and dual-monitor Mac workspaces.

Quick Answer: What Is the Best KVM Setup for Mac Users?
If you use one MacBook with one monitor, a dock is usually enough. If you want to share one monitor, keyboard, mouse, USB devices, webcam, or audio setup between a MacBook, Mac mini, Mac Studio, or Windows PC, a KVM is usually the better category.
For Apple Studio Display or USB-C / Thunderbolt-enabled display workflows, do not choose only by the connector name. Choose a KVM workflow that matches the full display and USB path, not just a basic HDMI or DisplayPort video switch.
The practical rule is simple: a dock expands one Mac, while a KVM lets one desk switch between multiple computers.
Why Mac Users Still Need a KVM Compatible with Thunderbolt 4 Workflows in 2026
A single Mac connected to one display usually does not need a KVM. A dock or hub can add ports, connect USB devices, and charge the laptop. The question changes when more than one computer needs to use the same desk.
For example, a developer may use a MacBook Pro for daily work and a Windows workstation for testing. A creator may keep a Mac Studio connected for editing while using a MacBook Air for travel. An IT user may need to switch between a Mac mini, a Windows PC, and a service laptop. In these cases, the problem is not port expansion. The problem is control sharing.
A KVM is designed to switch keyboard, video, and mouse control between computers. In a Mac workspace, that usually means several things must switch together: display signal, USB keyboard and mouse, audio devices, webcam, external storage, and sometimes a USB-C or Thunderbolt-enabled display workflow.
That is why the best KVM setup for Mac users is not always the one with the highest headline specification. It is the one that matches the actual desk structure: how many computers, how many displays, what type of display input, and whether the monitor behaves like a simple video display or a full USB-C / Thunderbolt device.

KVM Compatible with Thunderbolt 4 Workflows vs USB-C KVM vs Dock
The easiest way to avoid buying the wrong device is to separate “expansion” from “switching.” A dock expands one computer. A KVM shares one workstation across multiple computers. A video switch changes only display input. These are different jobs.
| Device Type | Primary Job | Best For | Main Limitation |
|---|---|---|---|
| KVM compatible with Thunderbolt 4 workflows | Switch shared display and peripherals across multiple computers using USB-C / Thunderbolt-enabled display workflows | MacBook, Mac mini, Mac Studio, Windows PC, and Apple Studio Display sharing scenarios | Must be matched carefully with display type, host ports, USB needs, cable path, and tested workflows |
| USB-C KVM | Switch USB-C video and USB peripherals between computers | USB-C laptops and monitors that support DisplayPort Alt Mode | USB-C does not always mean video output, charging, or Thunderbolt device behavior |
| Dock | Expand one computer into more ports | One MacBook connected to several peripherals at a fixed desk | Usually does not switch a full workstation between multiple computers |
| Regular HDMI / DisplayPort KVM | Switch standard video signals and USB control | PC monitors with HDMI or DisplayPort inputs | Not suitable when the display itself requires USB-C or Thunderbolt-style device communication |
The key distinction is that a dock follows one computer, while a KVM follows the desk. If your MacBook is the only computer, a dock may be enough. If your keyboard, mouse, display, and USB devices must move between a MacBook and another computer, a KVM is usually the more logical device.
Mac Setup Selection Table
Mac KVM decisions are easier when you start with the desk structure instead of the connector name. The table below shows common Mac setups and the direction that usually makes the most sense.
| Mac Setup | Best Direction | Why |
|---|---|---|
| One MacBook + one standard HDMI / DisplayPort monitor | Dock or direct adapter | No multi-computer switching is needed. The main task is port expansion. |
| MacBook + Mac mini + one monitor | Single monitor KVM | The display, keyboard, mouse, and USB devices need to follow the active computer. |
| MacBook + Windows PC + one USB-C display | USB-C or Thunderbolt-compatible KVM workflow | The signal path must match both systems, not only the monitor connector. |
| Mac Studio + MacBook + Apple Studio Display | Thunderbolt-compatible KVM workflow | Apple Studio Display is not a basic HDMI / DisplayPort monitor. |
| Mac + Windows PC + dual monitors | Dual monitor KVM, if both computers can drive both screens | Each computer must provide valid outputs for both displays. |
| MacBook Air + dual displays | Verify Mac external display support first | A KVM cannot create display outputs that the Mac itself does not support. |
This table is not a replacement for checking specs. It is a way to narrow the decision before comparing product pages.
Single Monitor Mac Setup: When a KVM Makes Sense
A single monitor KVM for Mac is most useful when one display must be shared by two or more computers. The monitor may be an Apple Studio Display, a USB-C monitor, or a standard HDMI / DisplayPort display connected through an adapter chain.
For a MacBook and Mac mini KVM setup, the basic requirement is simple: both computers need access to the same display and USB devices. The details decide whether the setup is easy or difficult.
If the display is a standard HDMI or DisplayPort monitor, a traditional KVM may work well, provided each computer can output the required signal. A MacBook usually does not have a native DisplayPort output, so a USB-C to DisplayPort cable, USB-C to HDMI adapter, or dock may be required. That extra conversion layer should be treated as part of the video chain, not an afterthought.
If the display depends on USB-C or Thunderbolt-style connectivity, the decision changes. The monitor may not be receiving only video. It may also expose a camera, speakers, USB hub, microphone, or power delivery behavior. In that case, a Thunderbolt-compatible KVM can be a better fit because the workflow depends on more than a basic video input.
This is the scenario where people often search for the best KVM for MacBook or the best KVM for Mac. A more accurate way to evaluate it is to ask: does the device support the display workflow my Mac actually uses, and has that workflow been tested with real Mac and PC setups?

Check Your Mac’s External Display Limit Before Buying a KVM
A KVM cannot make a Mac output more external displays than the Mac itself supports. This is one of the most common reasons dual-monitor Mac KVM setups become confusing.
Before buying a dual monitor KVM for Mac, confirm how many external displays your specific Mac model supports. MacBook Air, MacBook Pro, Mac mini, and Mac Studio do not all behave the same way. The chip generation, port configuration, lid-open or lid-closed behavior, and display resolution can all change what is possible.
This matters because a dual-monitor KVM usually expects each computer to provide a valid video signal for each display. If the KVM has two monitor outputs, each computer normally needs two usable video paths into the KVM. A Windows desktop may provide this through two GPU outputs. A MacBook may require USB-C video, HDMI, a dock, or an adapter chain.
macOS also handles MST differently from Windows. A DisplayPort MST hub that creates extended desktops on a Windows PC may not create the same native extended-display behavior on a Mac. DisplayLink can be another path for some users, but it depends on software drivers and should not be treated as the same as native video output.
The safer buying sequence is: first confirm the Mac’s display limit, then confirm the video output path, then choose the KVM.
Dual Monitor Mac Setup: Why Display Workflows Get More Complicated
A dual monitor KVM for Mac is more demanding than a single-display setup because each screen needs a valid display path. A KVM does not create extra display outputs from a computer that cannot provide them.
Before choosing a dual-monitor setup, check three things. First, can each Mac drive the number of external displays you want? Second, does each computer have the correct output path for both displays? Third, do the monitors use ordinary HDMI / DisplayPort inputs or USB-C / Thunderbolt-enabled display connections?
Mac users should be especially careful with mixed adapter chains. A Windows desktop may have two native DisplayPort outputs, while a MacBook may rely on USB-C, a dock, or a USB-C to DisplayPort cable. When both computers are routed through the same KVM, these differences matter. A stable setup depends on the full path: computer port, cable, adapter, KVM, display input, resolution, and refresh rate.
Dual-display workflows also create switching behavior that users notice immediately. If display identification is not preserved well, windows may move, monitors may briefly disconnect, or the system may need extra time to rebuild the desktop after every switch.
That is why dual monitor KVM selection should include more than resolution. Look at the display path, EDID behavior, USB focus, cable quality, and whether the Mac side requires adapters or docks.

Using One Desk for MacBook, Mac mini, Mac Studio, and Windows PC
A Mac and PC KVM setup has different failure points than a Mac-only desk. macOS and Windows may handle display negotiation, USB devices, sleep behavior, and monitor detection differently. The physical ports may also be different: a MacBook may rely on USB-C or Thunderbolt-enabled ports, while a Windows PC may use HDMI, DisplayPort, or USB-C depending on its motherboard and GPU.
In a MacBook and Windows PC KVM setup, the first practical question is not “which interface is fastest?” It is “which signals does each machine actually provide?” A gaming PC with DisplayPort output, a MacBook with USB-C ports, and a USB-C display cannot be connected as if they were the same type of device.
A good KVM workflow reduces cable swapping, but it cannot remove the need for correct signal planning. Each computer must provide the video signal the KVM expects. Each shared USB device must be connected through the correct USB path. Each monitor must receive a signal type it can accept.
This is also where a hardware KVM differs from software screen sharing. Remote desktop tools are useful, but they do not replace local display performance, BIOS access, login screen control, or shared USB devices. For developers, IT users, and creators who need local control, the hardware path still matters.
Why Apple Studio Display Changes the KVM Decision
Apple Studio Display is not just a panel with a common HDMI or DisplayPort input. It is designed around a USB-C / Thunderbolt-enabled display workflow where video, USB device behavior, audio, camera, and system communication are part of the same connection experience.
This is why a regular HDMI or DisplayPort KVM is usually the wrong category for users trying to share Apple Studio Display between Mac and PC. Even if a KVM supports high resolution over HDMI or DisplayPort, that does not mean it can maintain the device behavior expected by the display.
For an Apple Studio Display KVM workflow, the important questions are more specific:
- Does the computer support the display connection required by the monitor?
- Does the KVM support a USB-C or Thunderbolt-compatible display workflow rather than only HDMI or DisplayPort video?
- Are USB peripherals, audio, and control devices expected to switch together?
- Does the setup include only Macs, or a mix of Mac and Windows systems?
- Has the workflow been validated with real devices rather than assumed from connector shape alone?
Apple Studio Display can be mentioned in a general Mac KVM guide, but it should not be treated like every other monitor. If your main goal is to share Apple Studio Display, evaluate the full display workflow before choosing a KVM.
How TESmart THK401-X4 Helps Build a Cleaner Mac Workspace
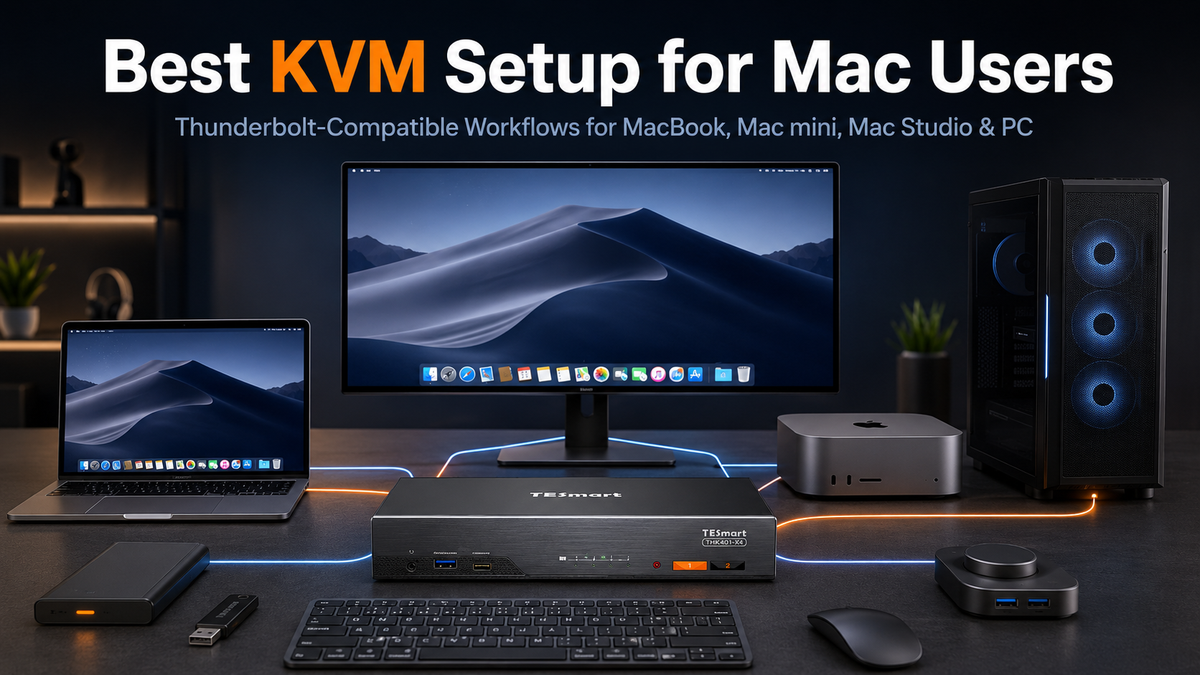
TESmart THK401-X4 is designed for users who need a cleaner way to manage mixed Mac, PC, HDMI source, and Thunderbolt-compatible display workflows from one desk.
Instead of treating the monitor as only a video endpoint, THK401-X4 is positioned for users who need switching logic across a more complex workstation. That may include a MacBook, Mac mini, Mac Studio, Windows PC, HDMI source, USB peripherals, and a display workflow that benefits from USB-C or Thunderbolt-compatible connectivity.
When THK401-X4 Makes Sense
THK401-X4 is more suitable for users whose desk is built around mixed devices rather than a single MacBook. It is especially relevant when the setup includes:
- MacBook Pro + Windows PC + Apple Studio Display, where the workflow is compatible
- Mac mini + MacBook + USB-C monitor
- Mac Studio + service laptop + shared keyboard and mouse
- Mac and Windows devices that need local display control instead of software remote access
- A shared USB device path for keyboard, mouse, webcam, audio device, or storage
When THK401-X4 May Not Be Necessary
THK401-X4 is not the right fit for every Mac user. If you use only one MacBook with one ordinary HDMI monitor, a dock or direct adapter may be simpler. If your desk uses only standard HDMI monitors and two desktop PCs, a regular HDMI KVM may be enough. If your requirement depends on a specific official Thunderbolt certification status, verify the certification status before purchase.
Compatibility Notice for Thunderbolt™ Workflows
Designed for use with Thunderbolt™ 4 laptops, including MacBook Pro and Dell XPS. Tested across real-world setups to support stable display performance and reliable device connectivity in compatible workflows.
Not yet Intel® certified for Thunderbolt™. TESmart validates compatibility through practical workstation testing, and certification is currently in progress.
This approach keeps the product recommendation tied to the actual Mac workspace problem: not “which connector sounds fastest,” but “which device can switch the display, USB devices, and local control path across the computers on this desk?”

Who Should Choose a Thunderbolt-Compatible KVM?
A Thunderbolt-compatible KVM is the right direction when the desk has more than one computer and at least one display or device workflow depends on USB-C or Thunderbolt-enabled connectivity.
It is especially suitable for Mac users who move between a MacBook and a desktop system, creators who share one display across editing and rendering machines, developers who use macOS and Windows side by side, and IT users who need local control over multiple machines from one desk.
It may not be necessary for users with only one Mac and one monitor. In that case, a dock may offer a simpler and less expensive path. It may also be unnecessary if all devices use ordinary HDMI or DisplayPort monitors and do not require USB-C or Thunderbolt-style display behavior.
The right buying logic is straightforward: choose a dock when you need to expand one computer; choose a standard HDMI / DisplayPort KVM when you need to switch ordinary video signals; choose a Thunderbolt-compatible KVM when multiple computers need to share a display workflow that depends on USB-C or Thunderbolt-enabled device communication.
FAQ
Do Mac users really need a KVM compatible with Thunderbolt 4 workflows?
Not always. If you use one Mac with one monitor, a dock may be enough. A KVM becomes useful when two or more computers need to share the same display, keyboard, mouse, and USB peripherals.
Is a dock the same as a KVM?
No. A dock expands one computer by adding ports. A KVM switches a shared workstation between multiple computers. If your problem is “I need more ports,” choose a dock. If your problem is “I need this desk to work with more than one computer,” a KVM is the more relevant category.
Can I use one Apple Studio Display with both a Mac and a Windows PC?
It depends on the Windows PC, the display workflow, the cable path, and the KVM. Apple Studio Display is not a standard HDMI or DisplayPort monitor, so the setup needs a Thunderbolt-compatible workflow rather than a basic video switch.
What is the best KVM setup for a MacBook and Mac mini?
For a basic monitor with HDMI or DisplayPort, a standard single monitor KVM may work if both Macs can provide the required video signals. For Apple Studio Display or another USB-C / Thunderbolt-enabled display workflow, choose a KVM path that supports the display and USB behavior you need.
Can a KVM add more external displays to a MacBook Air?
No. A KVM can switch available display signals across computers, but it cannot make a Mac support more external displays than the Mac itself can output. Check your Mac model’s external display support before choosing a dual monitor KVM.
Does a dual monitor KVM work with every Mac?
No. Each Mac must be able to output the required number of displays. The KVM also needs to match the video path, resolution, refresh rate, and monitor input type. Adapter chains and docks should be checked before purchase.
Is THK401-X4 an officially certified Thunderbolt product?
THK401-X4 is designed for compatible Thunderbolt display workflows and tested with common Mac and mixed-device setups. It is not yet Intel® certified for Thunderbolt™. Users should verify their specific computer, display, cable, and adapter chain before purchase.
Final Thoughts
The best KVM setup for Mac users is not decided by one connector name. It is decided by the whole desk: how many computers you use, what type of display you need to share, whether USB devices must follow the active computer, and whether the monitor behaves like a standard video display or a USB-C / Thunderbolt-enabled device.
For one Mac and one ordinary display, a dock or hub may be enough. For a MacBook, Mac mini, Mac Studio, Windows PC, or Apple Studio Display sharing scenario, a Thunderbolt-compatible KVM can provide a more suitable hardware-level switching path.
If your Mac workspace includes more than one computer, one shared display, or a mix of Mac and Windows devices, TESmart THK401-X4 is designed to help simplify compatible Thunderbolt display workflows, USB peripheral sharing, and local control across mixed-device setups.
Learn more about TESmart THK401-X4 and see how it can fit into your Mac and PC workspace.
Share:
KVM Switch Black Screen After Switching: 8 Fixes for Mac and Apple Studio Display
Mac + Windows KVM Compatibility Guide: Thunderbolt, USB-C & HDMI Connection Paths