Table of Contents
- Quick Answer: Can a Mac and Windows PC Share One Apple Studio Display?
- Identify Your Apple Studio Display First
- Why a Normal HDMI or DisplayPort KVM Does Not Directly Solve This
- Mac + Windows PC Connection Diagram
- What to Validate After Switching
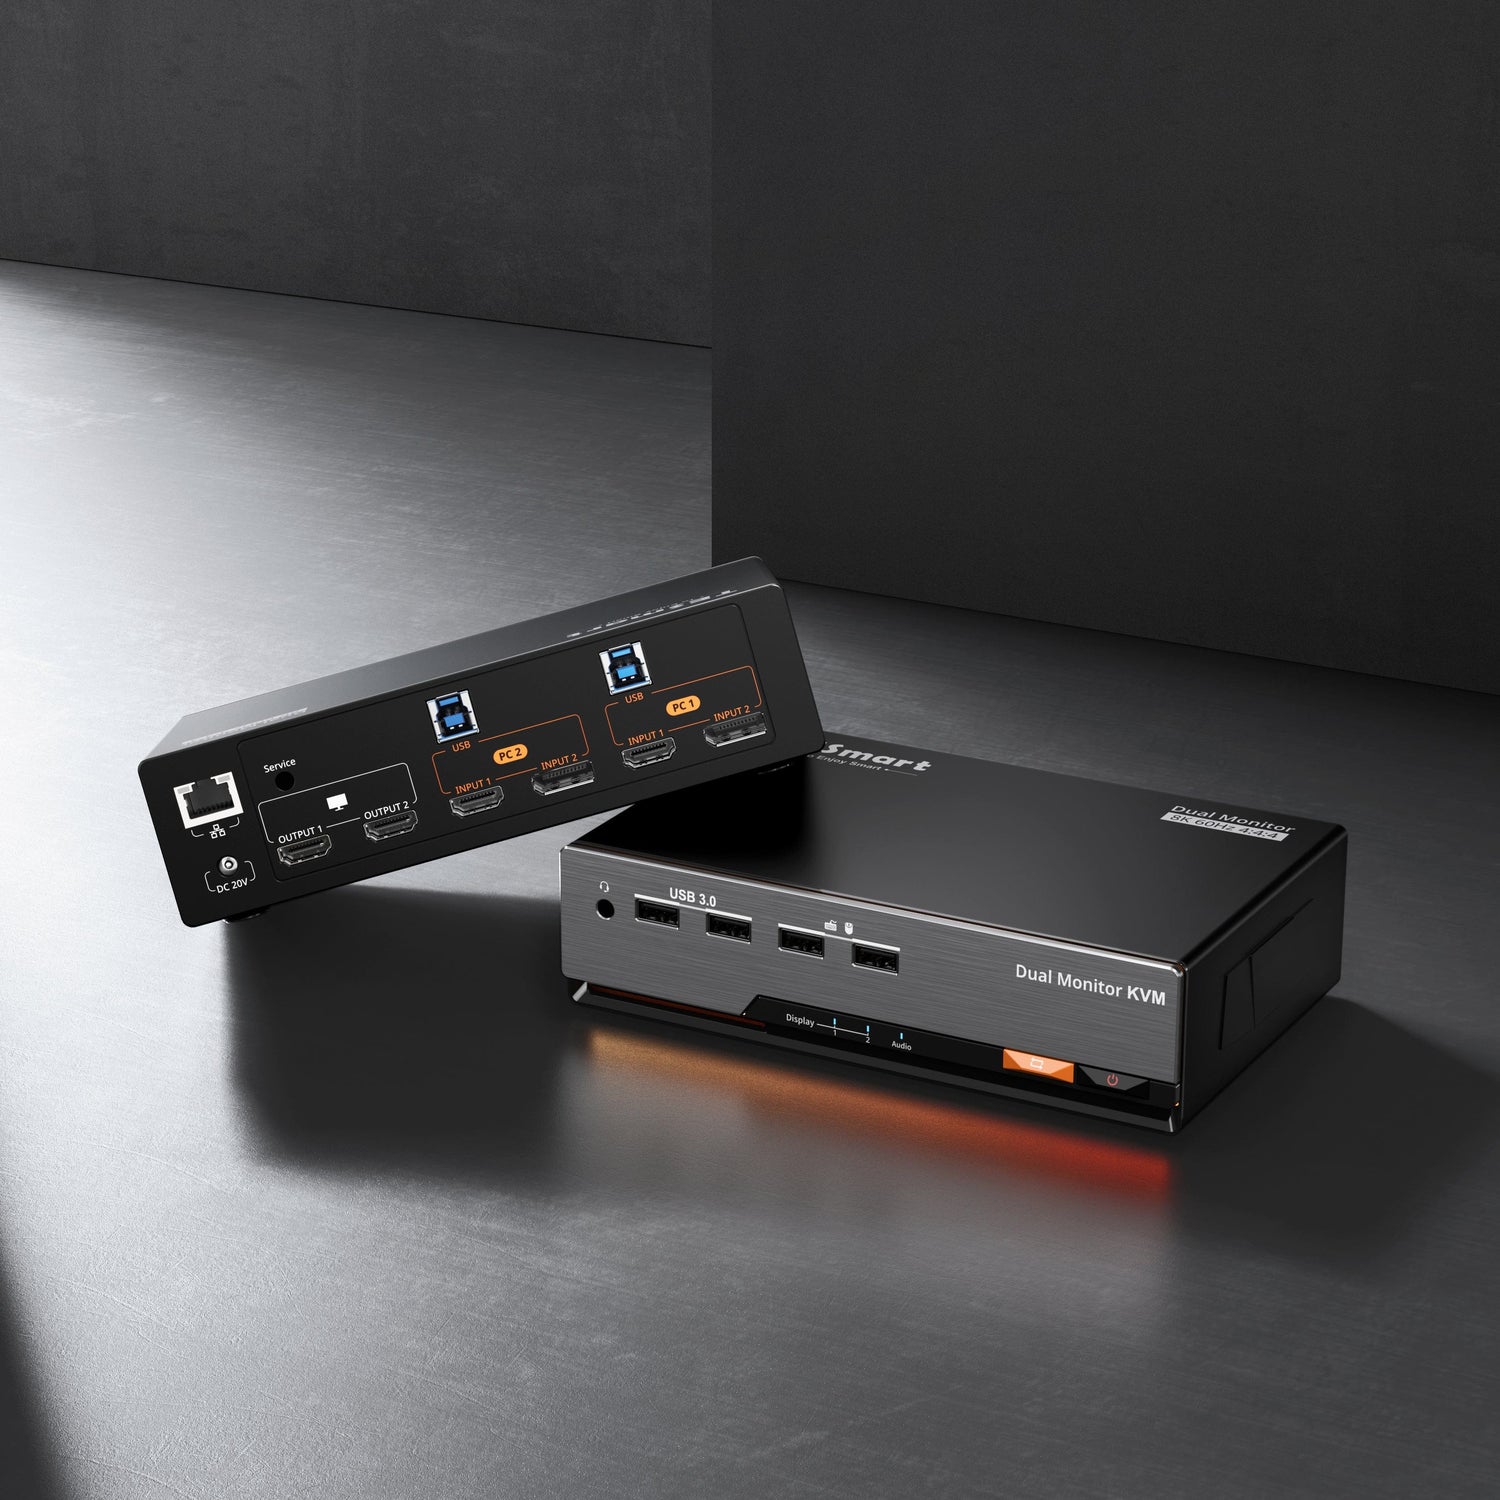
- Where TESmart THK401-X4 Fits
- FAQ
- Conclusion
Quick Answer: Can a Mac and Windows PC Share One Apple Studio Display?
Yes, but the setup has to switch more than a conventional HDMI video signal. Apple Studio Display uses a USB-C / Thunderbolt-compatible host connection and also exposes display-side devices such as speakers, camera, microphone, and USB ports. That is why a normal HDMI KVM or DisplayPort KVM is not a direct drop-in solution.
For a mixed Mac + Windows desk, the practical question is not simply whether both computers can produce an image. You also need to decide which computer needs the high-bandwidth display path, whether keyboard and mouse should follow the active computer, whether shared USB devices matter, and whether camera, microphone, audio, charging, or network access must remain available after switching.
A useful topology is to give the Mac a USB-C / Thunderbolt-compatible computer path and connect the Windows desktop through HDMI for video plus USB for shared peripherals. This is the type of mixed-source workflow TESmart THK401-X4 is designed to handle.
Identify Your Apple Studio Display First
“Apple Studio Display” now refers to more than one generation, and the 2026 lineup changes the compatibility question. Before choosing a KVM, confirm the exact display model and the mode you expect to use.
| Display | Year | Native Display Mode | Host Connection | KVM Consideration |
|---|---|---|---|---|
| Apple Studio Display | 2022 | 5K at 60Hz | Upstream Thunderbolt 3 (USB-C) | A compatible switching path must handle the display connection as well as any USB, audio, camera, or microphone functions you expect to use. |
| Apple Studio Display | 2026 | 5K at 60Hz | Upstream Thunderbolt 5 | Do not assume that a setup validated only with the 2022 model will reproduce every function automatically. Check the host, switch, cable, and display as one chain. |
| Apple Studio Display XDR | 2026 | 5K at 120Hz with Adaptive Sync | Upstream Thunderbolt 5 | This is a higher-bandwidth case and should be validated separately. A product that works with a 5K60 Studio Display should not automatically be treated as a complete 5K120 Studio Display XDR solution. |
This article focuses on the more common goal: sharing one Apple Studio Display between a Mac and a Windows PC. The 2026 Studio Display XDR deserves separate validation because its 5K120 mode places different demands on the host and the entire connection path.

Why a Normal HDMI or DisplayPort KVM Does Not Directly Solve This
A standard KVM normally sits between computers and a monitor that already accepts HDMI or DisplayPort. It switches the video input and usually switches a USB upstream connection for keyboard and mouse.
Apple Studio Display is different because it does not present a normal HDMI input. The host-side connection is USB-C / Thunderbolt-based, and the same display connection can also expose built-in devices to the computer. That changes what “sharing the monitor” actually means.
Video Is Only One Part of the Connection
An HDMI source can carry video and audio, but that does not by itself create the USB data path required for the display’s camera, microphone, downstream USB ports, or other host-visible devices. A converted HDMI signal may be enough to put an image on the screen while still leaving some display-side functions unavailable.
A USB-C Connector Does Not Guarantee the Right Workflow
USB-C describes the connector. One USB-C port may support charging and USB data only, another may support DisplayPort Alt Mode, and another may support a Thunderbolt-compatible connection. The same connector shape can therefore produce very different results in an Apple Studio Display setup.
A Dock Solves Expansion, Not Multi-Computer Switching
A dock is useful when one laptop needs more ports. A KVM is needed when multiple computers must share a display and peripherals. Chaining a dock, adapter, converter, KVM, and another adapter can work in some cases, but every added layer creates another point where display negotiation, USB enumeration, audio routing, or sleep/wake recovery can fail.
For this reason, start with the shortest practical signal path. If a computer works when connected directly to the display but fails after adding several conversion layers, remove the extra layers one by one before blaming the display or the KVM.

Mac + Windows PC Connection Diagram
For a mixed workstation, the most useful way to plan the setup is to assign a clear job to each cable.
Example with TESmart THK401-X4:
MacBook / compatible Mac
        │
        └── USB-C / Thunderbolt-compatible cable ──→ THK401-X4 Input 1
                                                        │
Windows desktop GPU ───────── HDMI ───────────────────→ Input 2
Windows desktop USB ───────── USB upstream ───────────→ Input 2
                                                        │
Keyboard / Mouse / USB devices ───────────────────────→ Shared KVM USB ports
                                                        │
THK401-X4 display output ─────────────────────────────→ Apple Studio Display
What Each Connection Does
| Connection | Role in the Workflow | Important Limit |
|---|---|---|
| Mac → THK401-X4 Input 1 | Carries the compatible display path, USB data, shared peripherals, network access, and up to 60W laptop charging where supported. | Actual resolution, refresh rate, charging, and display-side functions still depend on the Mac, cable, display, operating system, and selected mode. |
| Windows GPU HDMI → Input 2 | Carries Windows video and supported HDMI audio. | On THK401-X4, Input 2 is limited to up to 4K60 rather than the 5K60 path available through Input 1. |
| Windows USB upstream → Input 2 | Lets keyboard, mouse, supported USB devices, and compatible shared connectivity follow the Windows computer. | Without the USB upstream connection, Windows may show video while shared USB devices do not follow the switch. |
| THK401-X4 → Apple Studio Display | Provides the display-side connection for the shared Apple display workflow. | Do not treat this as proof that every Apple display feature is identical on every input or every operating system. |
This distinction is important for buyers. If your Mac needs native 5K60 but the Windows PC only needs a 4K60 desktop view, the mixed Input 1 + Input 2 structure is practical. If both computers must reach native 5K60 through equivalent high-bandwidth paths, do not assume this topology meets that requirement. Choose the KVM architecture based on the display mode required by each host.

What to Validate After Switching
A successful Apple Studio Display KVM setup is not proven by the first image. Test the functions you actually use after switching from Mac to Windows and back again.
| Function | What to Check | If It Fails |
|---|---|---|
| Video | Confirm the expected resolution and refresh rate on each computer after several switches. | Check the input-specific resolution limit, shorten the cable path, remove unnecessary adapters, and test a direct display connection. |
| Keyboard and Mouse | Confirm both devices reconnect to the active computer and that any required hotkey mode works. | Test simple wired devices first and remove extra USB hubs or wireless receivers from the troubleshooting chain. |
| Shared USB Devices | Test storage, webcam, card reader, or other USB devices individually. | Verify that the active computer has the required USB upstream data path. Video alone is not enough. |
| Speakers / Audio | Check the selected audio output after each switch. | Re-select the output device in macOS or Windows and confirm that the source/input supports the required audio route. |
| Camera and Microphone | Open a camera or meeting app after switching and confirm that both devices enumerate correctly. | Do not assume identical support on every input. Check the THK401-X4 hardware version, USB upstream path, operating system, and display configuration. |
| Sleep / Wake | Put each computer to sleep, wake it, and then switch again. | Reduce adapter layers, reconnect the display chain in a simpler order, and confirm the computer works directly with the display first. |
If camera, microphone, or speaker behavior is a purchase-critical requirement, use a version-specific compatibility check rather than assuming all THK401-X4 hardware revisions expose the same functions on every input. A dedicated function-level article can then carry the detailed test matrix without turning this Mac + Windows setup guide into another broad Apple Display KVM encyclopedia.
Where TESmart THK401-X4 Fits
TESmart THK401-X4 makes the most sense when one Apple Studio Display sits at the center of a mixed desk rather than a desk made of identical computers.
The current input structure is:
- Input 1: a compatible Mac or laptop connection for display output, USB sharing, network access, and up to 60W charging. The display path supports up to 6K60 or 5K120, depending on the connected computer, cable, display, operating system, and selected mode.
- Input 2: HDMI + USB upstream for a second computer, such as a Windows desktop. This input supports keyboard, mouse, USB sharing, and network access, with video up to 4K60.
- Inputs 3–4: additional HDMI sources for video and supported audio up to 4K60. These inputs do not provide the same keyboard, mouse, USB, charging, or network path as Inputs 1–2.
- Display output: one Apple Studio Display-centered output path.
That structure solves a specific problem: one primary Mac or compatible laptop plus one Windows computer, with room for additional HDMI devices, all sharing one Apple display environment. It is more appropriate than a basic HDMI KVM when the display itself is not a standard HDMI monitor.
When THK401-X4 Makes Sense
- Your Mac needs the higher-bandwidth display path while the Windows desktop is acceptable at up to 4K60.
- You want the Mac and Windows PC to share keyboard, mouse, and compatible USB devices.
- You also want spare HDMI inputs for a console, mini PC, media player, or another video source.
- You want to reduce the number of separate converters, USB switches, and manual cable changes around the Apple Studio Display.
When Another Topology Is Better
- Both computers must run the Apple display at native 5K60 through equivalent high-bandwidth inputs.
- You need guaranteed camera and microphone behavior on every source without checking the exact hardware version and OS path.
- You are building around the 2026 Studio Display XDR at 5K120 and need the entire chain validated specifically for that display and host combination.
- Your monitor already has normal HDMI or DisplayPort inputs and you only need basic video + keyboard/mouse switching. In that case, a conventional HDMI or DisplayPort KVM may be simpler.
Compatible with Thunderbolt™ 4 Devices — Compatibility and Certification Are Different
THK401-X4 is designed for computers compatible with Thunderbolt™ 4 and common Apple Studio Display workflows. Thunderbolt version names should be used to describe compatibility, not as the product category or identity.
THK401-X4 is not yet Intel® certified for Thunderbolt™. Certification is currently in progress. Compatibility testing and Intel certification are different, so users building a professional workstation should evaluate the exact computer, display, cable, operating system, and required peripheral functions.
FAQ
1. Can I share Apple Studio Display between a Mac and Windows PC?
Yes, with a connection path designed for the Apple display workflow. With THK401-X4, a compatible Mac can use Input 1 while a Windows desktop uses HDMI + USB on Input 2. The two inputs do not have identical display limits, so decide whether 5K60 on the Mac and up to 4K60 on Windows matches your actual requirement.
2. Can a Windows PC connect to Apple Studio Display through a KVM?
Yes in a compatible converted workflow, but the result depends on the Windows GPU output, KVM input structure, USB upstream connection, cable path, and the features you expect. On THK401-X4 Input 2, HDMI carries video while USB upstream carries the shared keyboard, mouse, and USB data path.
3. Will the Apple Studio Display camera, microphone, and speakers work after switching?
Do not treat these three functions as one yes/no feature. Supported HDMI audio can be routed to the Apple Studio Display speakers, while camera and microphone availability depends on the THK401-X4 hardware version, USB upstream connection, source device, operating system, and display configuration. Test the exact functions that matter to your desk.
4. Can I use a normal HDMI KVM with Apple Studio Display?
Not directly. Apple Studio Display does not provide a native HDMI input. An HDMI conversion path may produce video, but a basic HDMI KVM by itself does not create the full USB-C / Thunderbolt-compatible device relationship needed for display-side USB, camera, microphone, or other functions.
5. Does the same setup apply to the 2026 Studio Display and Studio Display XDR?
No. The 2026 Studio Display remains a 5K60 display but uses Thunderbolt 5 connectivity, while Studio Display XDR adds a 5K120 mode and Adaptive Sync. Treat Studio Display XDR as a separate compatibility case. A KVM specification such as “up to 5K120” is not, by itself, a guarantee that every Thunderbolt 5 display feature, host combination, camera, microphone, USB function, or sleep/wake behavior will be preserved.
Conclusion
The most useful way to plan an Apple Studio Display KVM setup is to stop thinking of the display as a normal HDMI monitor. The real job is to map the complete path for video, USB data, audio, and the peripherals that need to follow the active computer.
For a Mac + Windows PC desk, first identify the exact Studio Display model. Then decide the resolution each computer actually needs. After that, map the Mac display path, the Windows HDMI + USB path, and the shared peripherals before adding any extra docks or adapters.
TESmart THK401-X4 is most relevant when one primary Mac or compatible laptop needs the higher-bandwidth Apple display path and a Windows PC can use HDMI + USB at up to 4K60. Its value is not simply the number of ports; it is the way those ports match a mixed Mac + Windows workstation.
If both hosts require identical native 5K performance, or if 2026 Studio Display XDR at 5K120 is the target, validate a different topology rather than assuming one KVM architecture fits every Apple display workflow.